Powered By Blogger

Thursday, January 13, 2011

I'm loving the floors!

This weekend I hope will be very productive.  We plan on painting the kitchen and the laundry room.  The floors for these room will be in next week-so we need to finish these rooms first.  We have decided on all of the wall colors which seemed to take forever.

As I was cleaning the bathroom tonight-I was about to throw away a light fixture that I though was just a piece of junk....it was actually the ceiling light fixture from the bathroom that was a temporary sconce quick fix while we were working.  I realized that it was painted over porcelain.  After cleaning it up-a beautiful white fixture with two black accent rings-what a find!  We will use that fixture for the entry way between the kitchen and the garage.


To the right, you can get a glimpse of the tile in the master bathroom shower.  It is a black with white veining 12 x 12 tile.  We will be using a off white gray for the grout on this tile.  The base of the shower and the bathroom floor will be white with a border of black tile (2" x 2").  We also will add a sealer on the shower tile so it will look a bit shiny!

 I am LOVING the color of our "new" wood floors.  The 100 year old maple looks really pretty.  Left,  you can see the floor in our bedroom.  A few days before we move in, Joe will add a final coat of finish.
 This picture shows one of the walls in the office-I am AMAZED at how well this room is turning out.  It is the room that was in really tough shape with all of the cracks.  It looks perfect now!
This is the ceiling in the living room.  We decided to keep the patterned walls in the living room, foyer and dining room.  I think it will make a nice contrast to our new plastered ceiling.

Thursday, January 6, 2011

I'm seeing the light at the end of the tunnel :-)!

Guest Bedroom, North Window
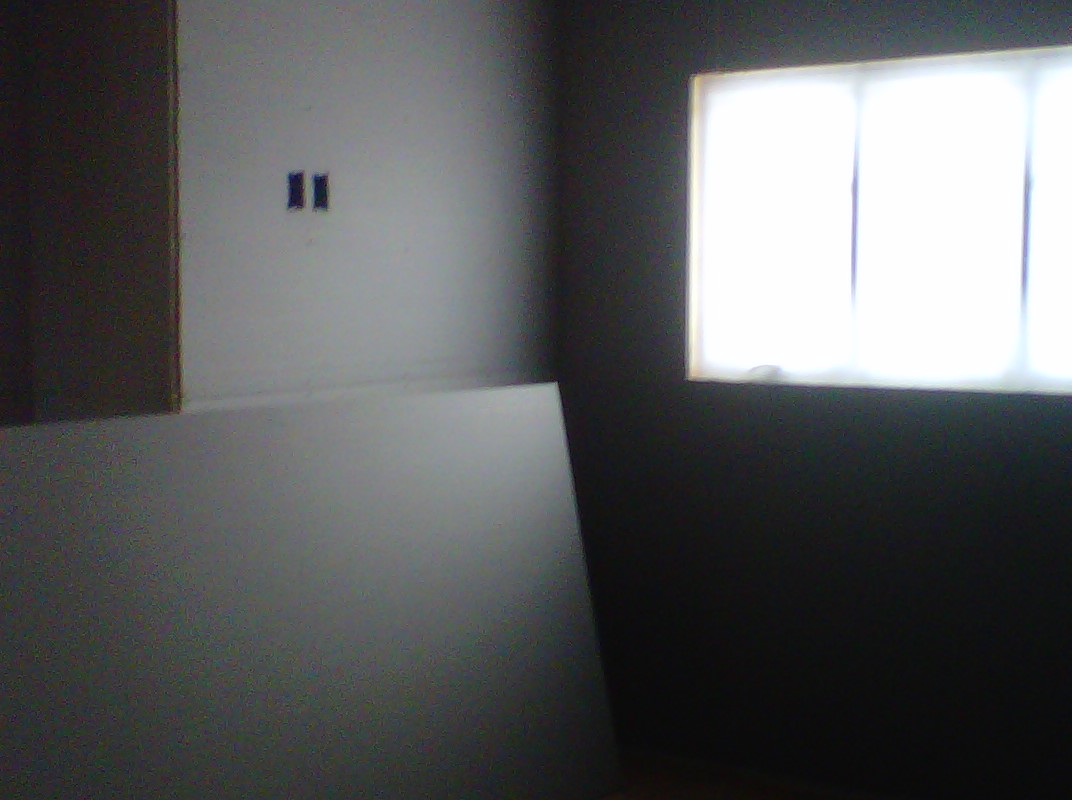
 It is exactly one month since the last time I updated the blog.  As many of you know, this has been a difficult time for our family this past week.  Working on this blog is quite relaxing-so it is a good time to post some pictures.  The pictures for this post are from the last few weeks-and I can't wait to for you to see the changes that have occurred since these photos were taken.  Within the last couple of days, almost all of the plastering has been completed, the first floor wood floors are ready for their final coat of polyurethane and we will begin painting the walls next week.  Our move in date is scheduled within the next few weeks-I am SO EXCITED!  The following pictures show board that has been hung as well as taped/mudded areas.
Guest Bedroom-East Wall

Closet for Guest Bedroom

Upstairs Hallway-Looking at the Master Bedroom

Guest Bedroom-North Window

Master Bedroom-North Window

Most of the upstairs flooring looks like this-just wait until you see the "magic" of refinishing!


Master Bathroom

Master Bathroom Looking into Closet

Master Bathroom Shower

Master Bedroom Closet

Staircase/Landing

Another Picture of the stairs leading down to the landing

Second set of staircase-Alan cut out the wall above the black board-it is much more open from the hall to the kitchen.

Another view of the removed wall-what a difference!


 This is view of part of the kitchen.  In my opinion, it has been the most challenging part of the renovation.  The fruit wallpaper border was fairly easy to remove.  However, the 50 year old wallpaper was EXTREMELY challenging.  The wallpaper had been painted over; so after using the warm water/soaking method, I tried the liquid fabric softener-neither worked.  So, I tried a hot gun which melted the paint and loosened up the wallpaper-but it still came off in chunks.  The best method.....score the wallpaper, soak the area with the liquid fabric softener, let set for about 15 minutes, heat the area-and easy pleasy (yay right)-the wallpaper came off.  You will notice the lovely remains of years gone by.  Yellow paint with a lovely blue scalloped boarder, below that -pink paint, green paint, white paint.  What a mess! 
Another view of the kitchen!

You will notice on the left that there was quite a bit of glue left on the wall from the removal of the old tile backsplash for the stove-all of this is now neatly plastered over-check out my next blog for updated pictures.  No, we are not keeping the water heater in the kitchen.....we have a new energy efficient tankless water heater-immediate hot water.

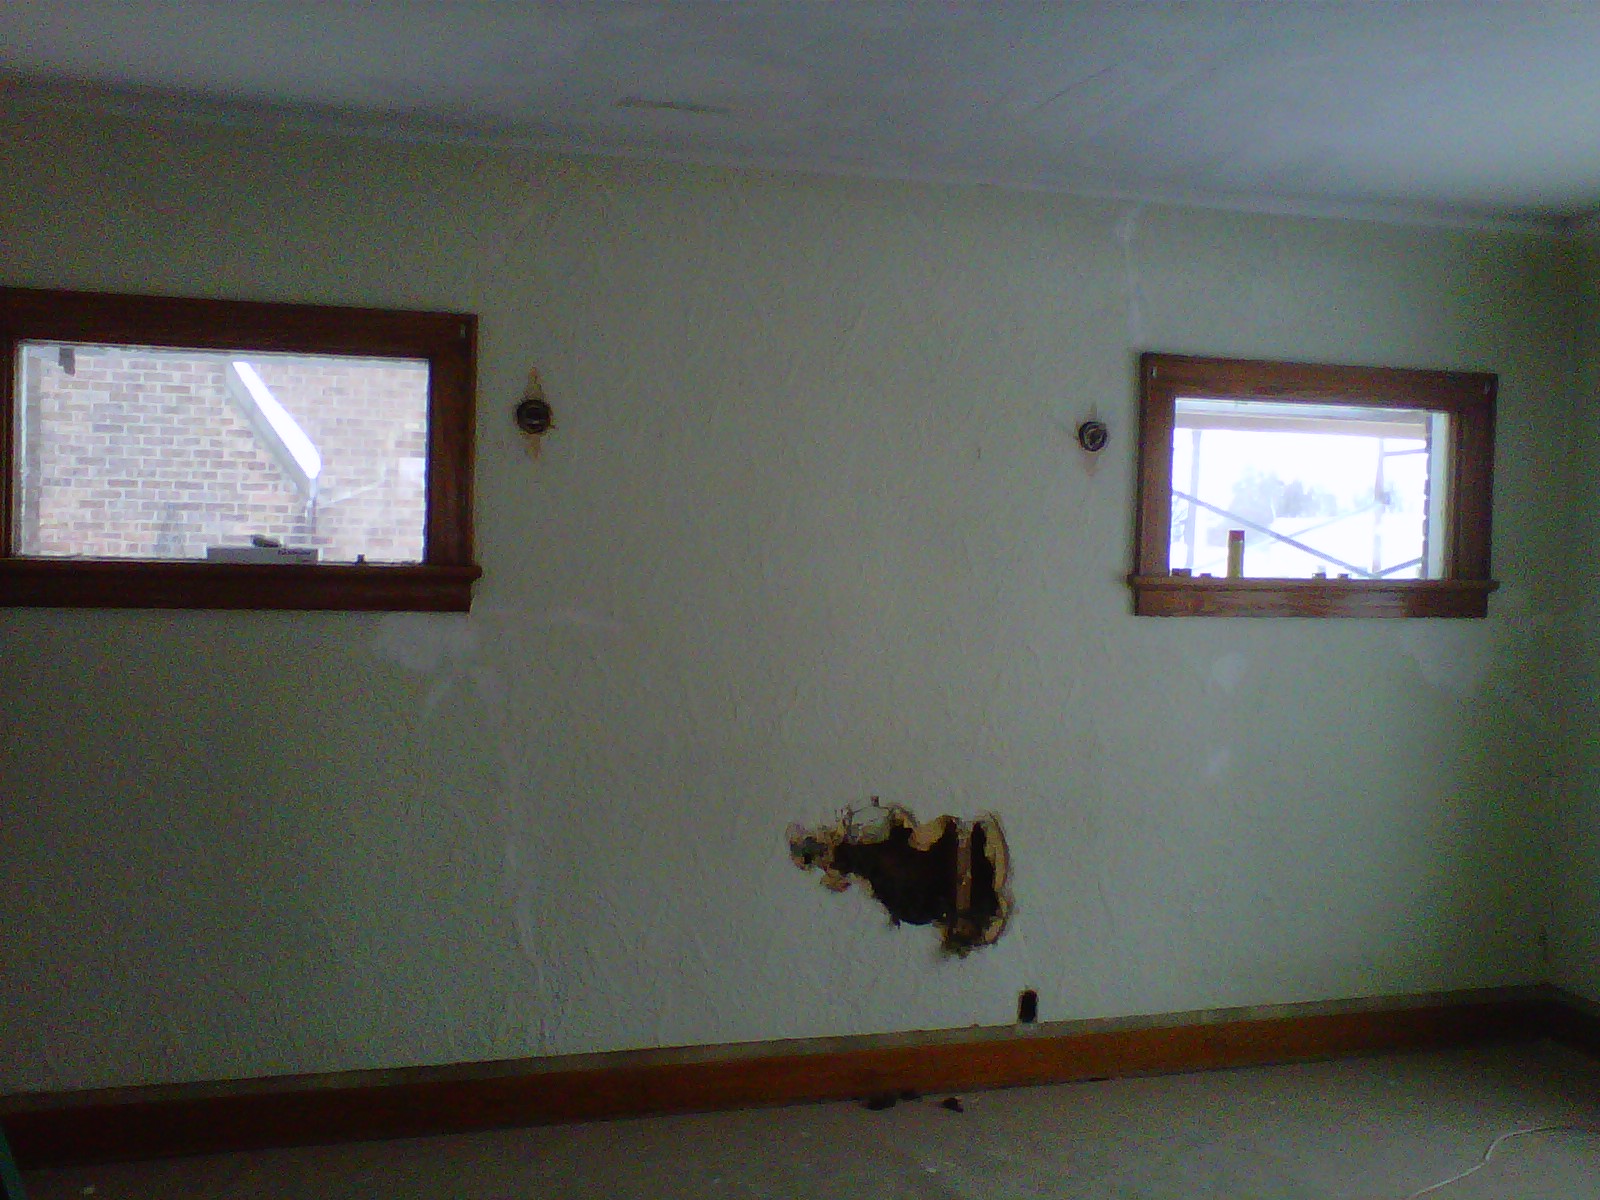
New Windows above the buffet.  You will notice on the right one of my two Christmas decorations I hung on the wall.

Dining room-I tried this color on the wall-I don't care for it.  I'm going to try grey next-hopefully that will look better.  On the right side of the arch you will witness my second Christmas decoration ("Everytime a bell rings-an Angel gets her Wings!"

Dining room-playing with the paint.

Same picture-better view.

Trying different stains on the floor.....and the winner is:  the second from the left!

Other options for floor stain.

This is the doorway for the front closet door-we have plastic on it now to keep the cold air contained.

Fireplace....well-right now-a hole in the wall!

Living Room

Living room

Looking down the hall.

Office-this is the room with the most issues.  There were quite a few cracks in this room (not from the move-but previously).  Also, the floor in this room looked in tough shape.

Another picture of the office.

Another picture of the office.

Again....the office.

Downstairs bathroom-pretty easy to remove the map wallpaper from this bedroom.  Do you like the dark green painting with the black and yellow wall tile and the blue and salmon floor tile-ummmmm......

Another view of the bathroom.

And another view....Kohler sink here and in the kitchen!  Buy local/salvage local!

Can't wait to have coffee on my front porch with relatives, friends....myself!

Monday, December 6, 2010

So....what is new?

Well, it is time to update this blog-it has been nearly a month.  Time has flown by-I've taken pictures along the way; but am spending my evenings working hours on my grad class-the course ends next Monday!  I have learned a lot, but am looking forward to helping Alan with the house as much as I can.  This picture shows the location of the second floor bathroom and our closet.


 Alan is standing on the stairway landing and the guest bedroom closet is behind him.  There aren't any windows on the second floor/south side as most of the garage will cover that side of the house.  We are making a temporary "door" on the back of the wall/corner that you are looking at to move our furniture and appliances in!
 View of the basement.  Although not seen in this photo, the furnace and the tankless water heater are now installed.  I am amazed at how small the water heater is-I'll update with another photo.
 This area will (hopefully) be a wine/bar area.  We had the concrete contractors score large squares into the floor; I would like to stain the concrete in this area at some point.
 The stairs will be located on the right side-where you see the ladder.  We have two windows in this area that will eventually be a tv/den room.  The large window faces the east-so it is nice and bright in the morning down in the basement!
 On the left side of the photo is an additional stairs for access to the basement.  This will work well for Alan bringing in any supplies he might need.

 We decided on poured concrete steps....we thought it would look more original then wood stairs.  We need to add a railing and of course landscaping in spring!
 Here is the south side of the house-the open area is now closed in-but will serve as the access point for moving furniture, appliances and blue board for the plastering of the walls upstairs.
 Here are the stairs leading down into the basement

 Here you can see that Alan has begun to build some walls.  This doorway leads into our closet.  All of the walls for the bedrooms, closets and laundry room are now finished upstairs!
 This view shows the wall between our bedroom and the laundry room.
 This picture shows the wall between the guest bedroom closet and the laundry room.

 On Saturday, Alan and I spent the day insulating the upstairs.  We completed the entire job and saved $800 by completing the work by ourselves.
 You can see that most of the guest bedroom is insulated in this picture.
 This picture shows our new shower on the left and our closet on the right.


 This is a view of the laundry room-the roughed in electricity and the plumbing are completed.
 Here is my work table for cutting the insulating into the correct lengths for Alan.  We are set up in the guest bedroom.
 Another view of the guest bedroom.
 Here is the corner of the guest bedroom closet where we will have access to get large items in the house.
Alan has added a new wall/railing for the second story steps going to the landing.  You can see remnants of the old house/stenciling on the walls!

So....what else?  The electrician needs to work on updating the first floor and the heating needs to be finished on the second floor.  Next, the plastering needs to be completed and insulation needs to be blown in on the second floor.  Tile needs to be installed in the master bathroom and shower.  The floors need to be refinished.  We have selected flooring for the kitchen and the laundry room and that needs to be installed.  Alan will work on the garage this week and we have a TON of painting to do....cabinets, walls and woodwork.  Lots left to do-but the end is in sight!  We love visitors-so please feel free to stop in and say "HI"....I'm always happy to take a break if I am working to show you around :-)!  When are we moving in?  Hmmm.....not quite sure yet......